

If frozen pipes water damage has struck your home, immediate and correct action is key to minimizing its impact. This guide delivers straight-to-the-point advice on how to manage and repair the damage caused by frozen pipes. From initial steps to long-term prevention, we provide the critical information you need—no fluff, just action.
Key Takeaways For Frozen Pipe Water Damage
- Identify and resolve water damage immediately by halting water flow, extracting excess water, and employing air movers and dehumidifiers to prevent mold growth.
- After addressing immediate threats, repair structural damage caused by burst pipes and sanitize the area to prevent mold, with the assistance of professionals.
- Prevent future frozen pipes by insulating exposed pipes, maintaining warm air circulation, and considering long-term solutions like upgrading insulation and installing heat tape.
Immediate Actions for Water Damage from Frozen Pipes
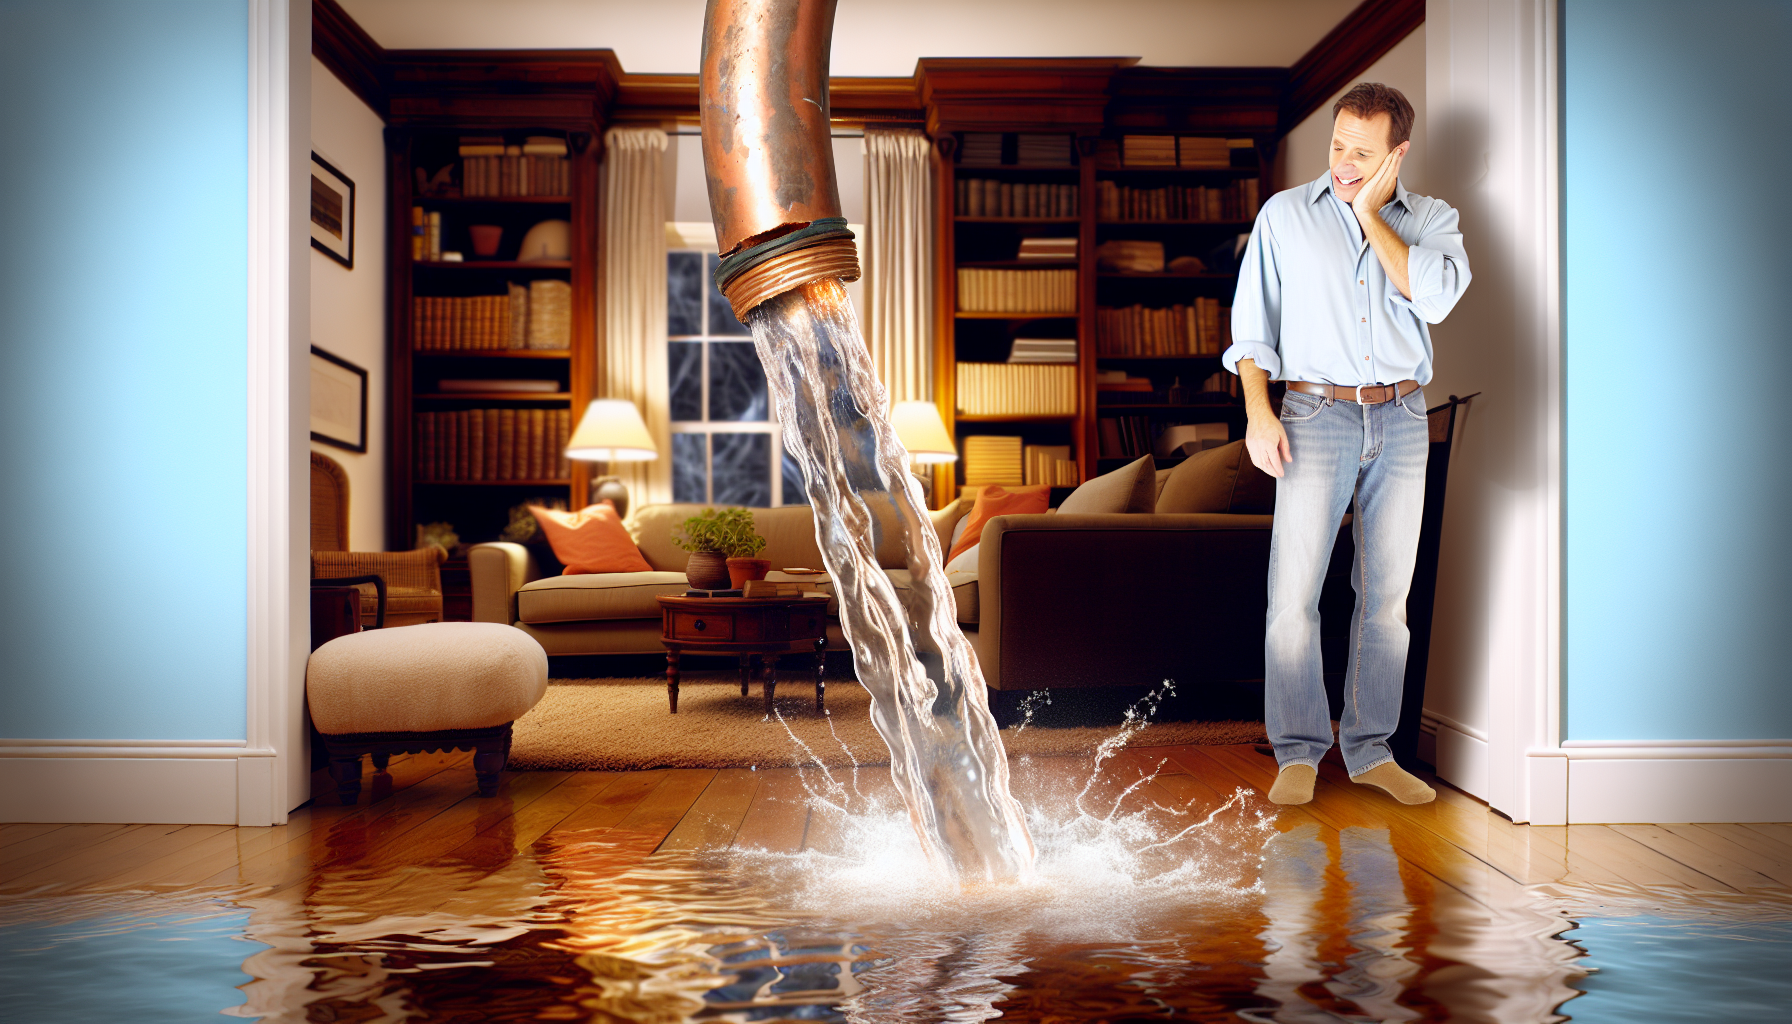
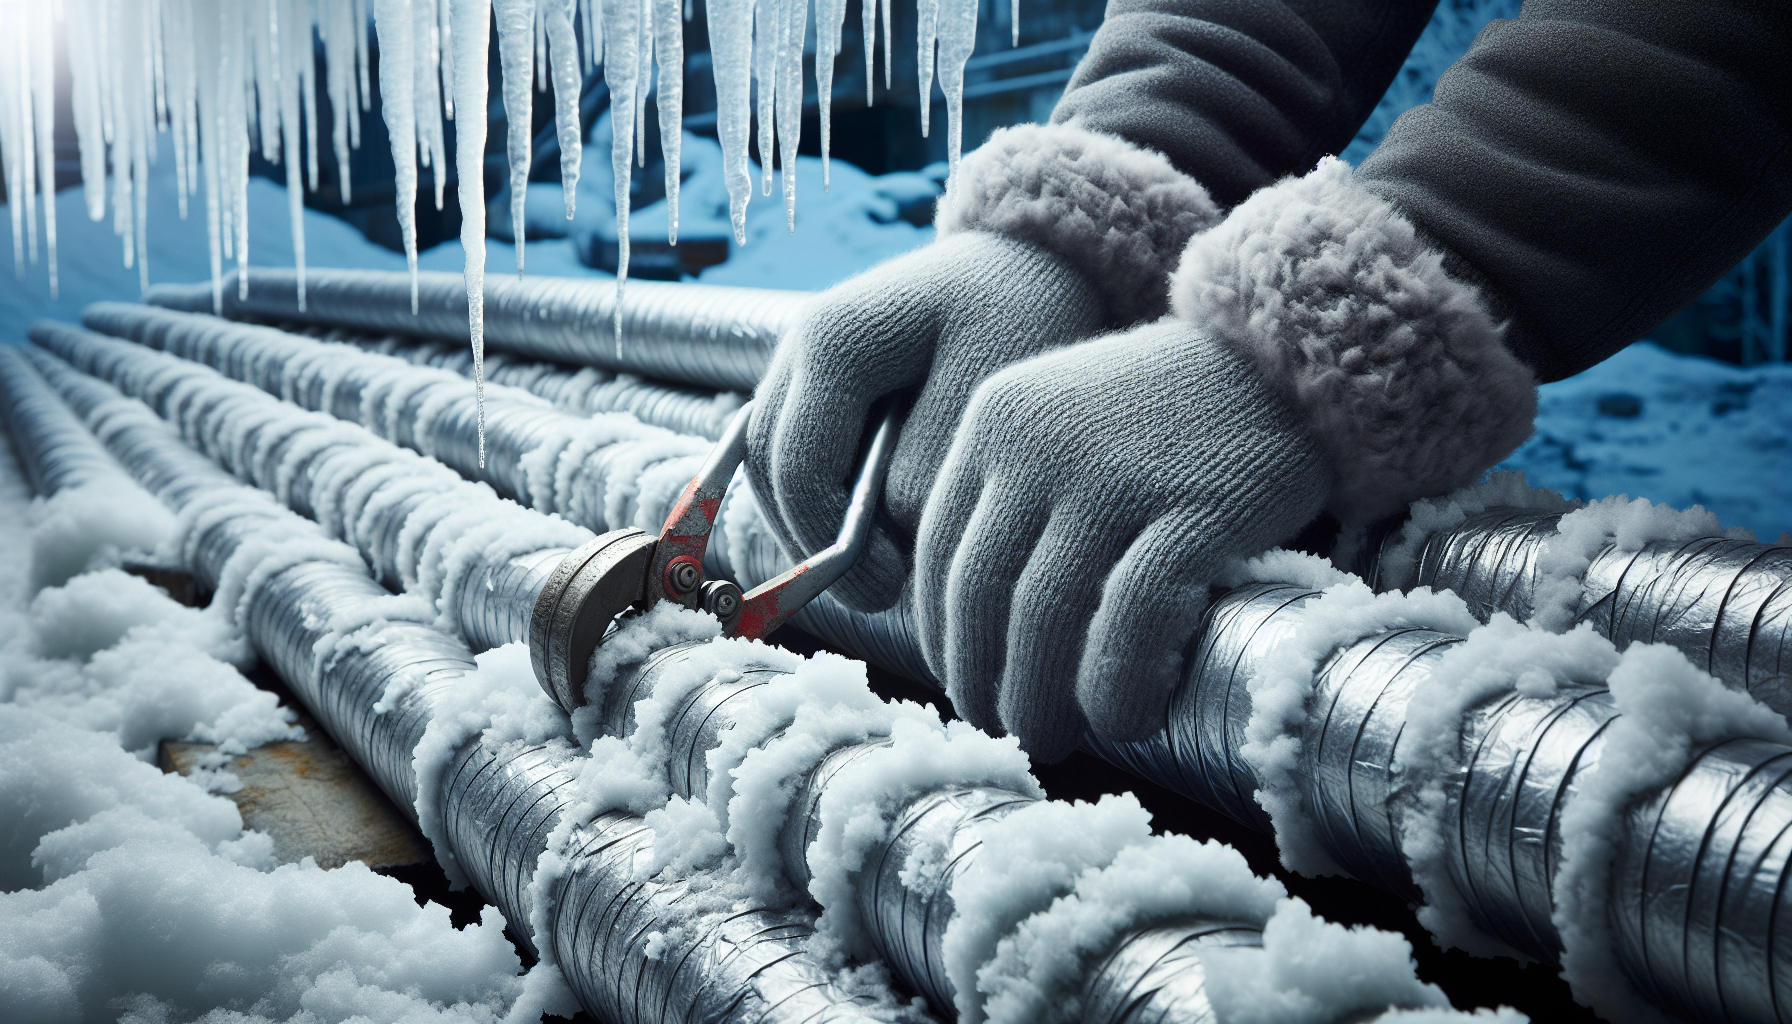
The initial indication of frozen pipes is typically a sudden decrease in water pressure or complete cessation of water flow. This can indicate that your water supply pipes, specifically the water pipes, have become frozen. If not addressed promptly, these icy pipes may burst and cause extensive damage to your home.
So what should you do if faced with this situation?
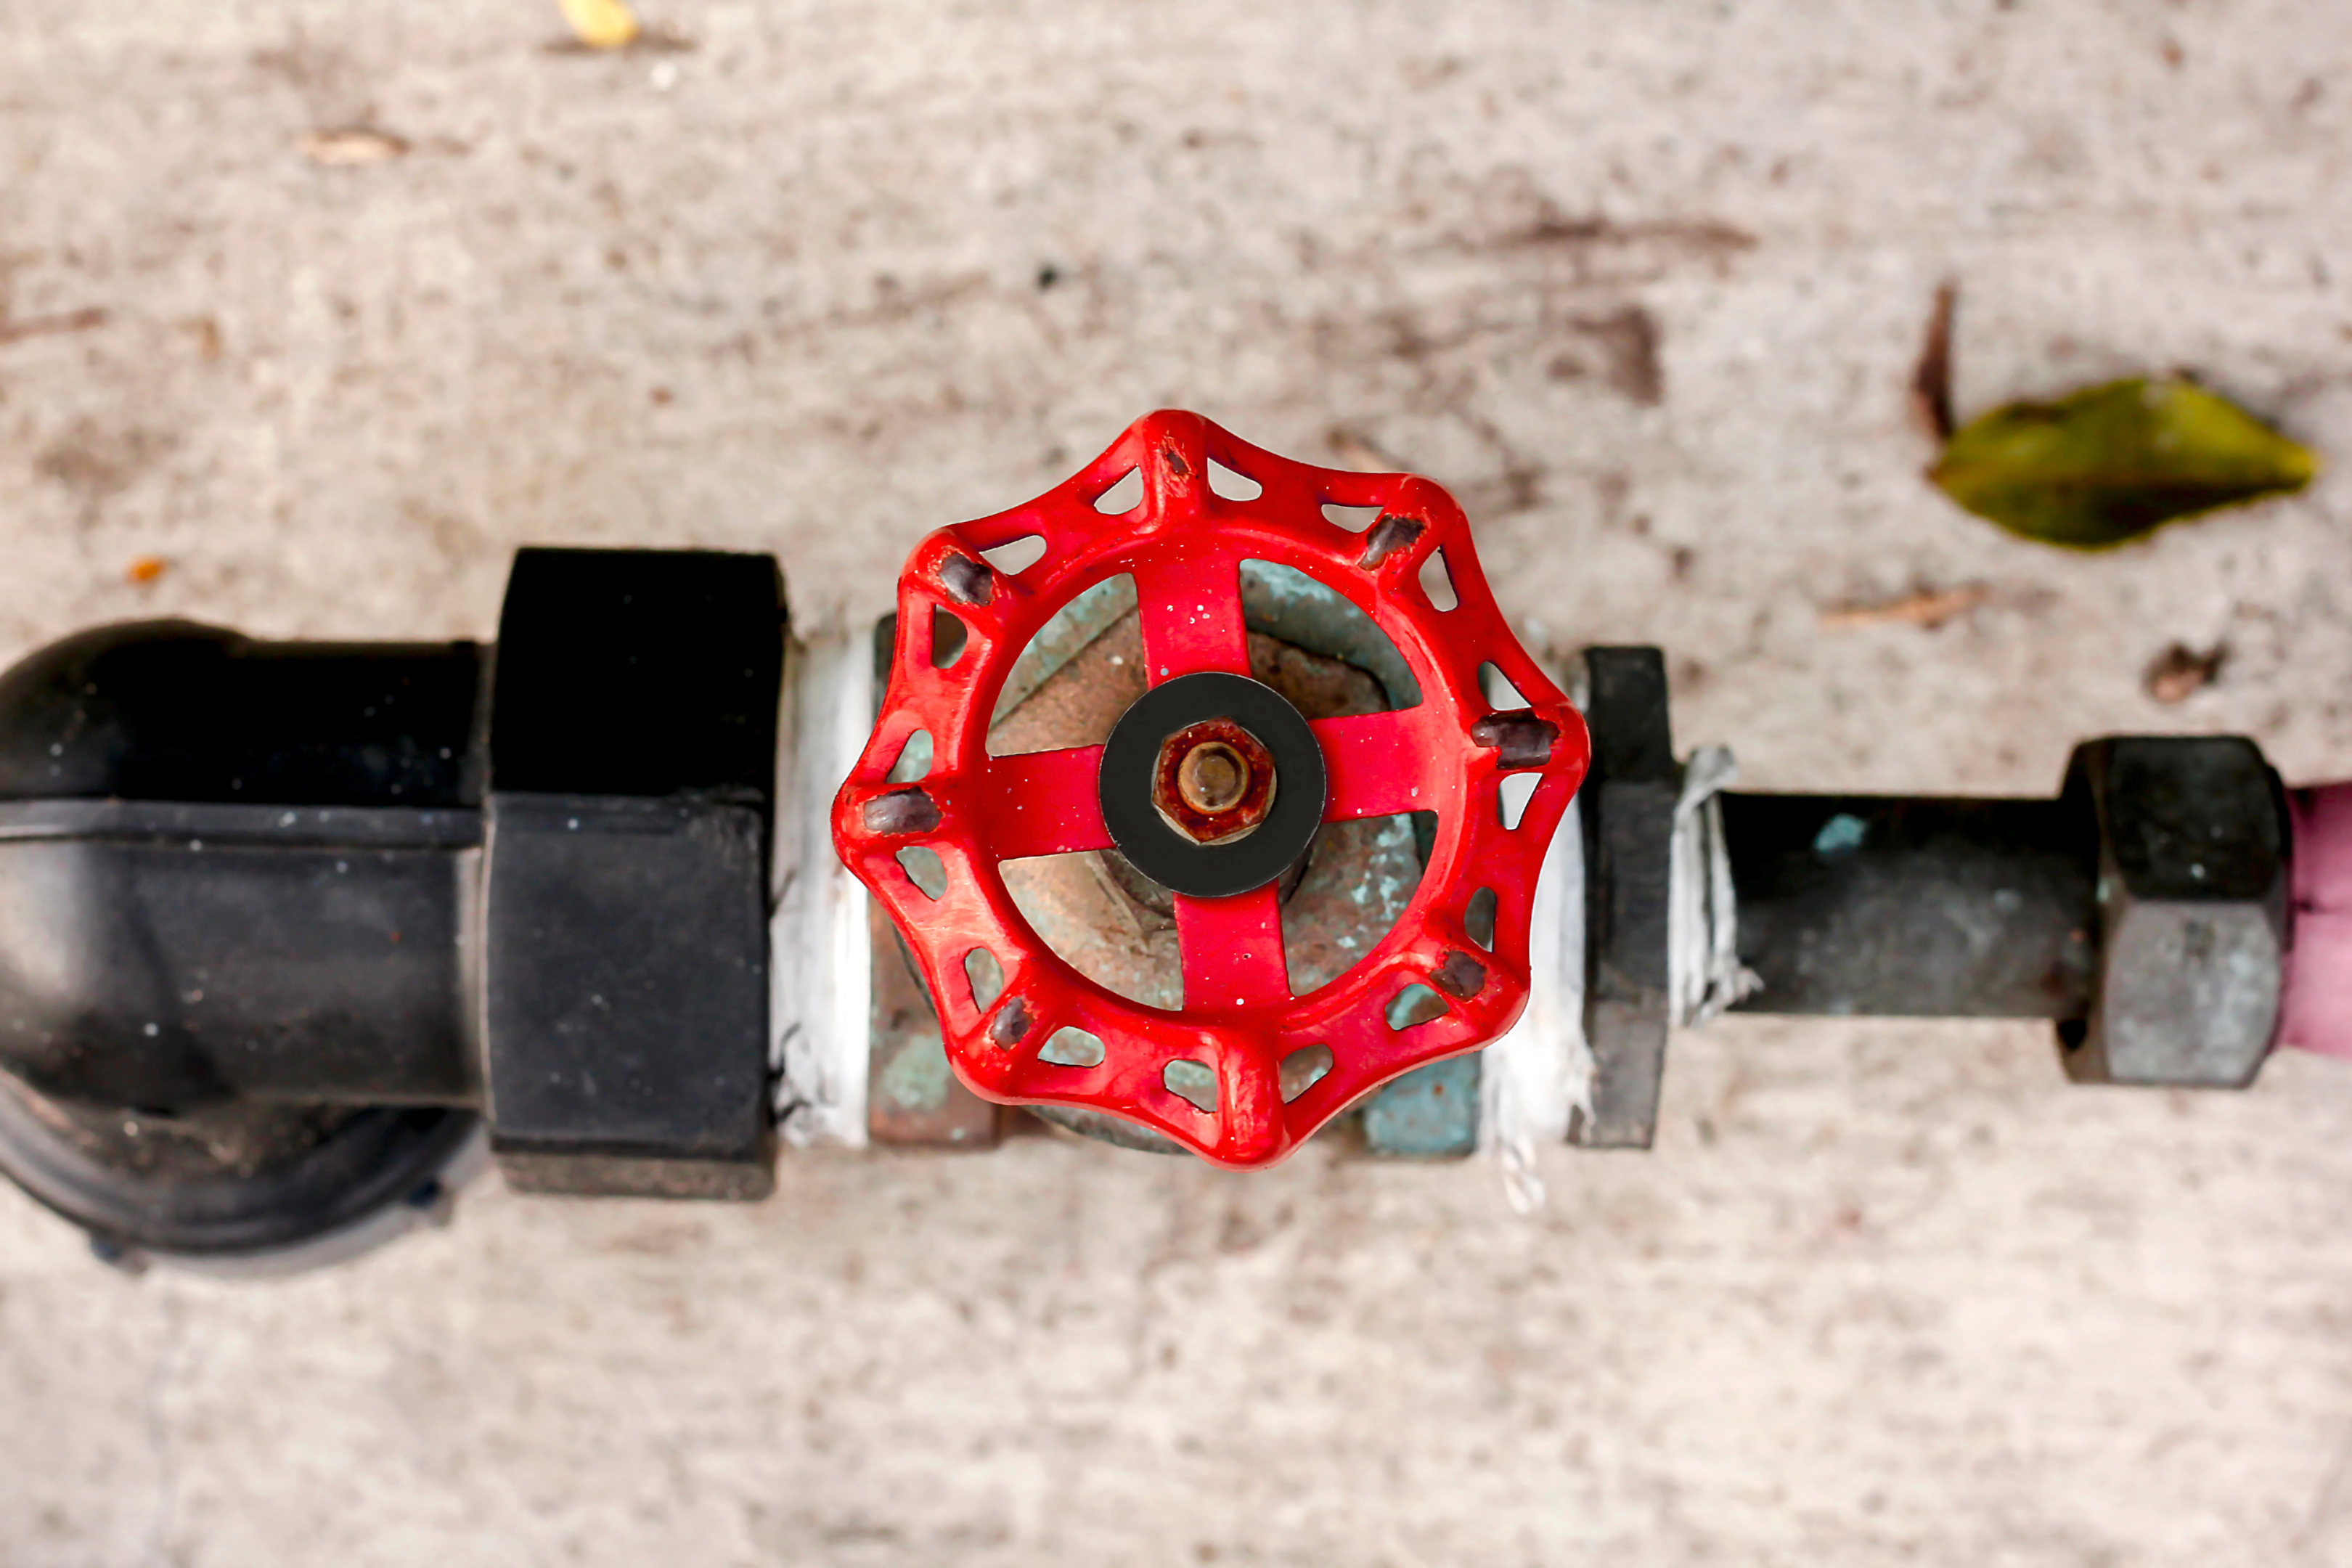
Halting the Flow
To start, the first step is to turn off the water. Locate your main shut-off valve which can typically be found where the water supply pipes enter your house and twist it in a clockwise direction. This will help stop any leakage.
After stopping the flow of water, it’s important to address the frozen pipe and take precautions against future freezes in pipes connected to your home’s main source of water.
Water Extraction Strategies
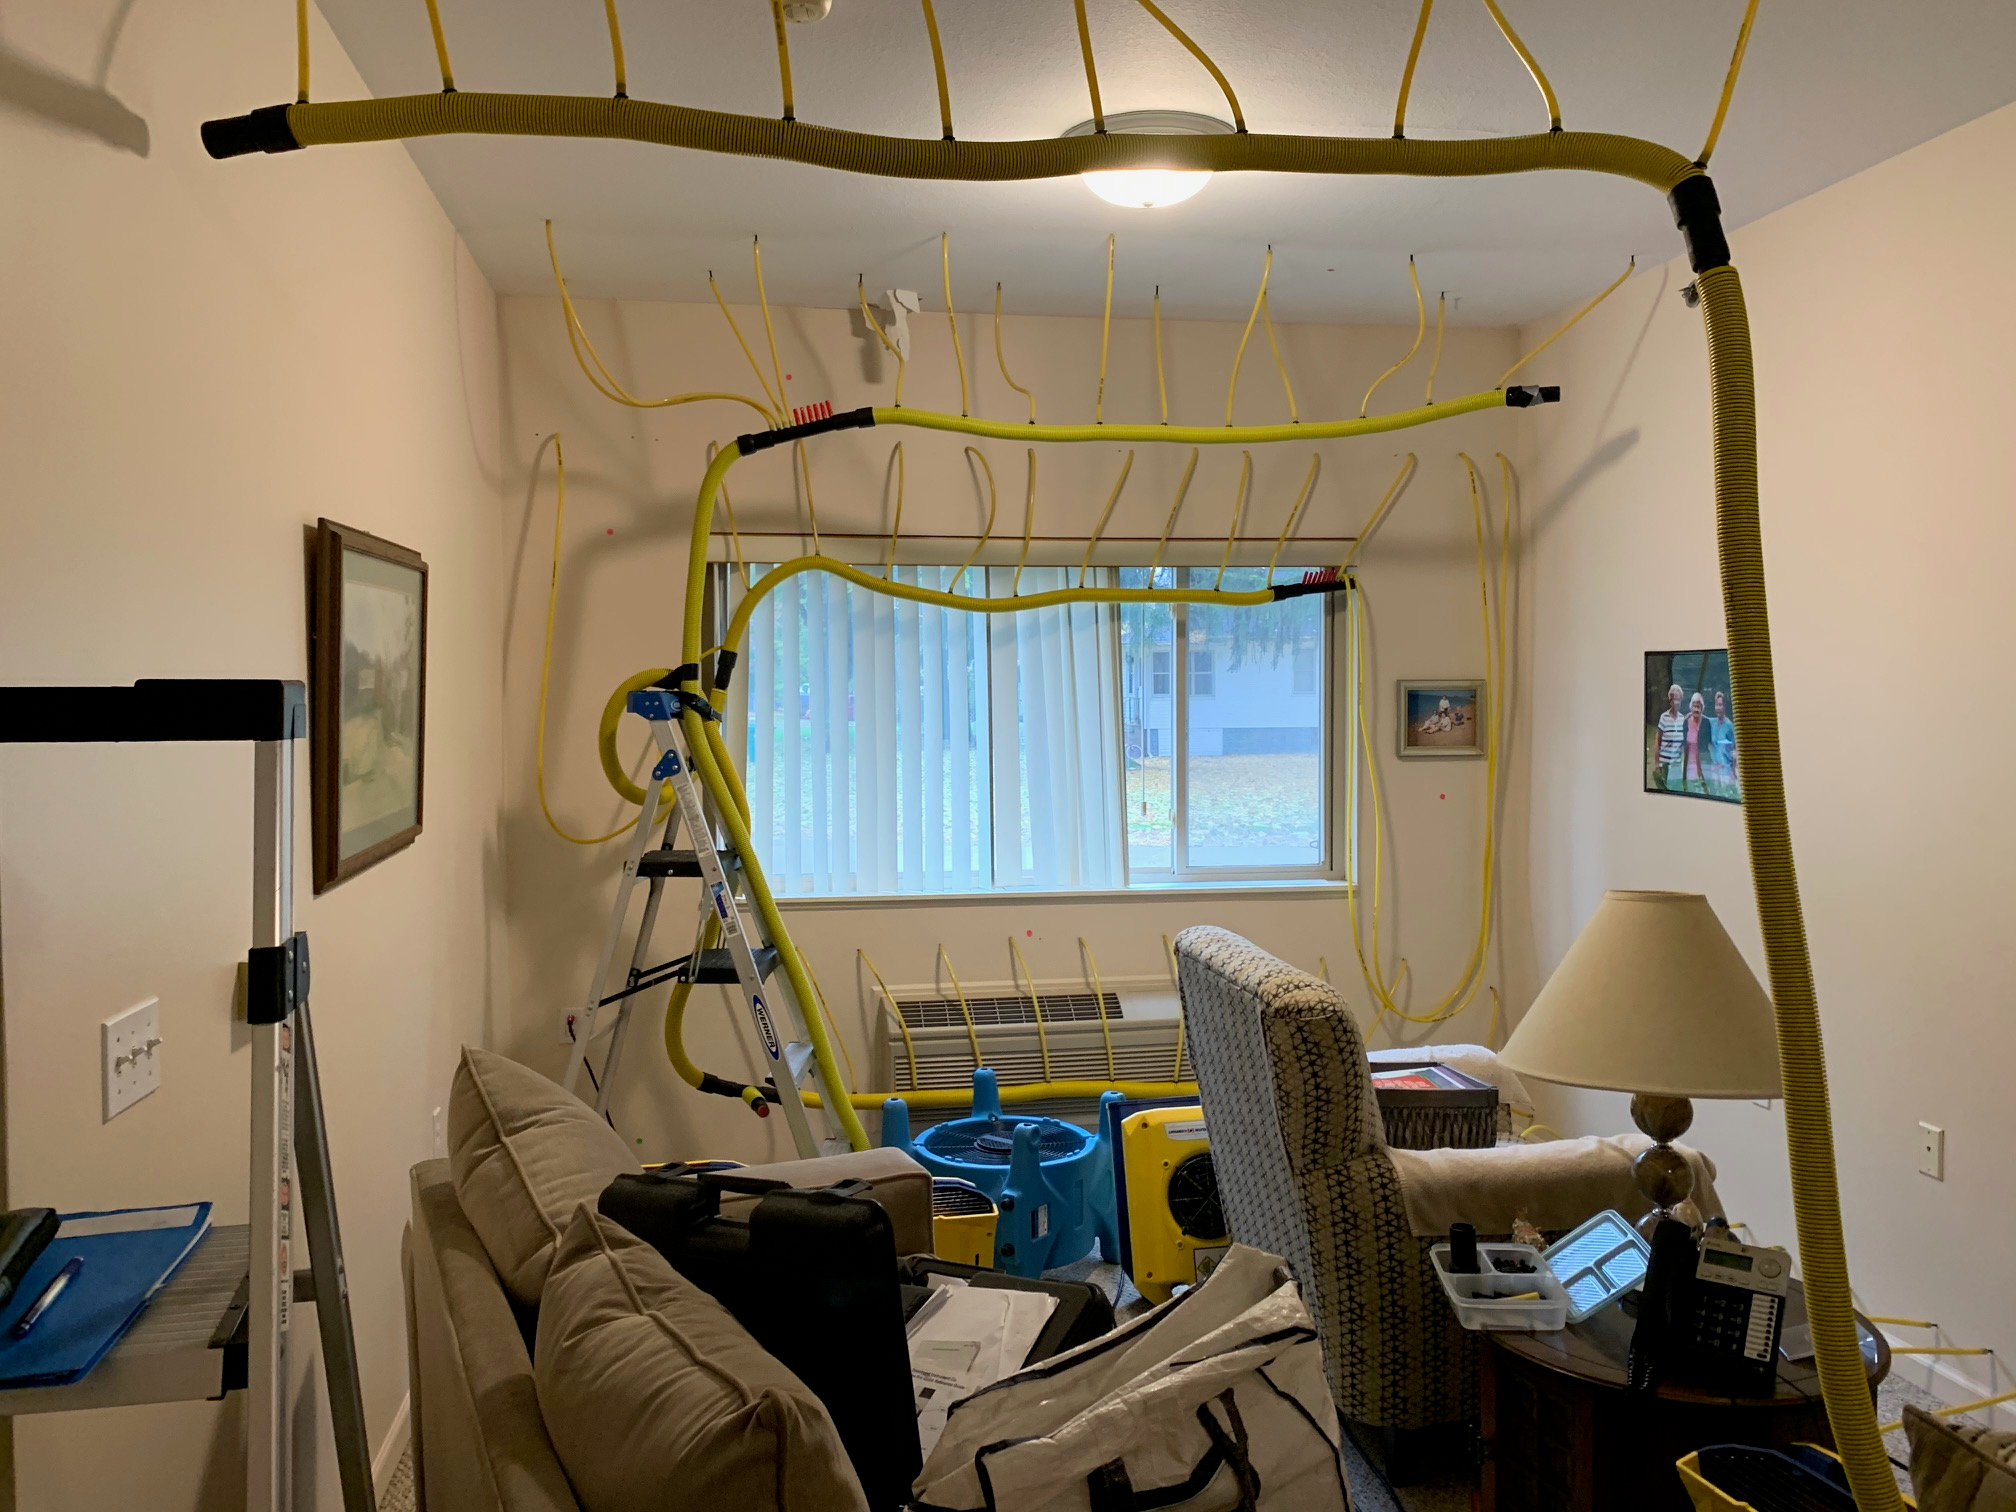
The next step after stopping the water flow is to extract it from the affected areas. This process is essential in preventing the growth of mold and mildew by getting rid of excess moisture. Kent Kleen, LLC has state-of -the-art equipment ready to make this process easy on you. We work with all major insurance carriers and will help you throughout the claims process. We follow the guidelines set by the https://iicrc.org on all projects.
High-powered pumps, water extraction, and dehumidifiers should be used for effective removal of standing water and quick drying of impacted surfaces. These tools help eliminate all traces of accumulated water efficiently, minimizing potential damage caused by prolonged exposure to moisture.
Assessing the Impact of Burst Pipes
The immediate concern after addressing the water emergency is to conduct a thorough damage assessment. Burst pipes have the potential to cause structural damage to exterior walls, such as:
- Weakening of walls, ceilings, or floors
- Foundation deterioration in your residence
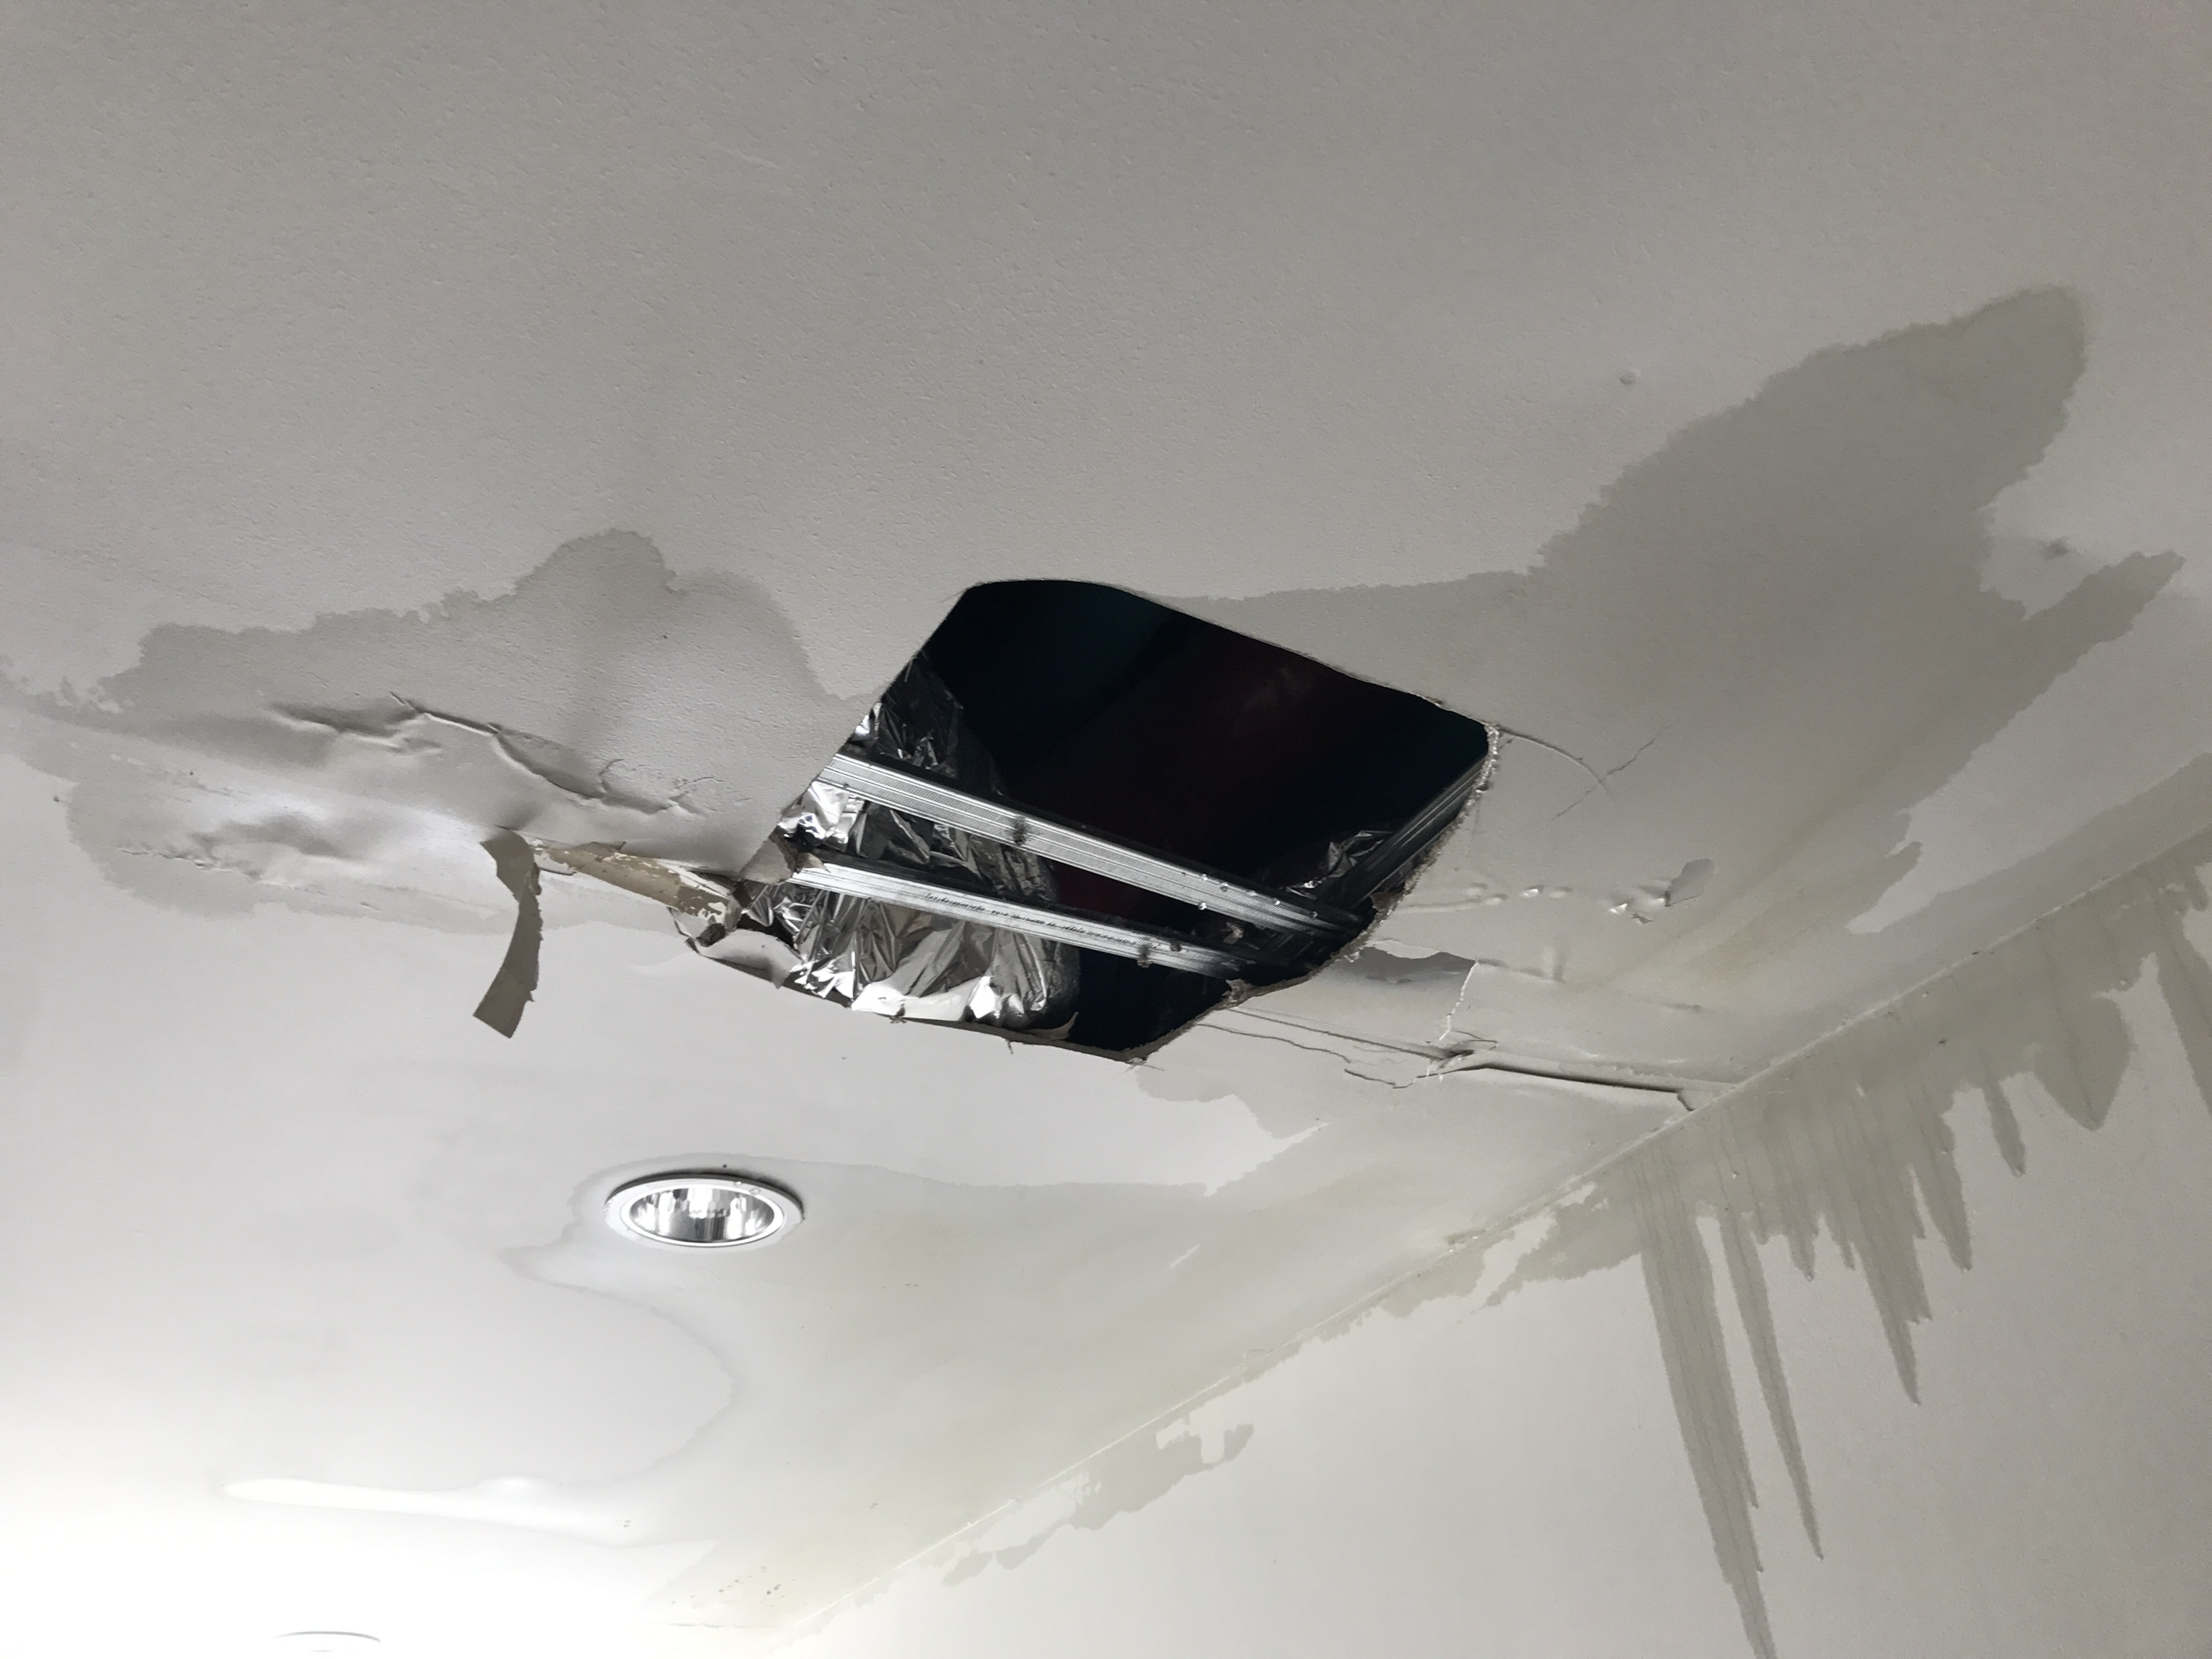
Pipe freezes can also lead to other types of damage including damp insulation and damaged ductwork. Keep an eye out for any signs indicating cracked driveways or yards along with broken wires or pipelines.
It’s important not to overlook these indications when assessing damages and take necessary measures accordingly.
Thawing Techniques for Frozen Pipes
Evaluating the extent of damage caused by frozen pipes is crucial, but it’s important to also address the root cause – which in this case would be the actual frozen pipe. Thawing out a frozen pipe requires careful handling and attention to prevent any potential bursting.
Some pipes that are of concern are…
- Cold Water Pipes
- Water Supply Lines
- Swimming Pool Supply Lines
- Pipes on an Exterior Wall
- Water Sprinkler Lines
- Any Unheated Interior Space
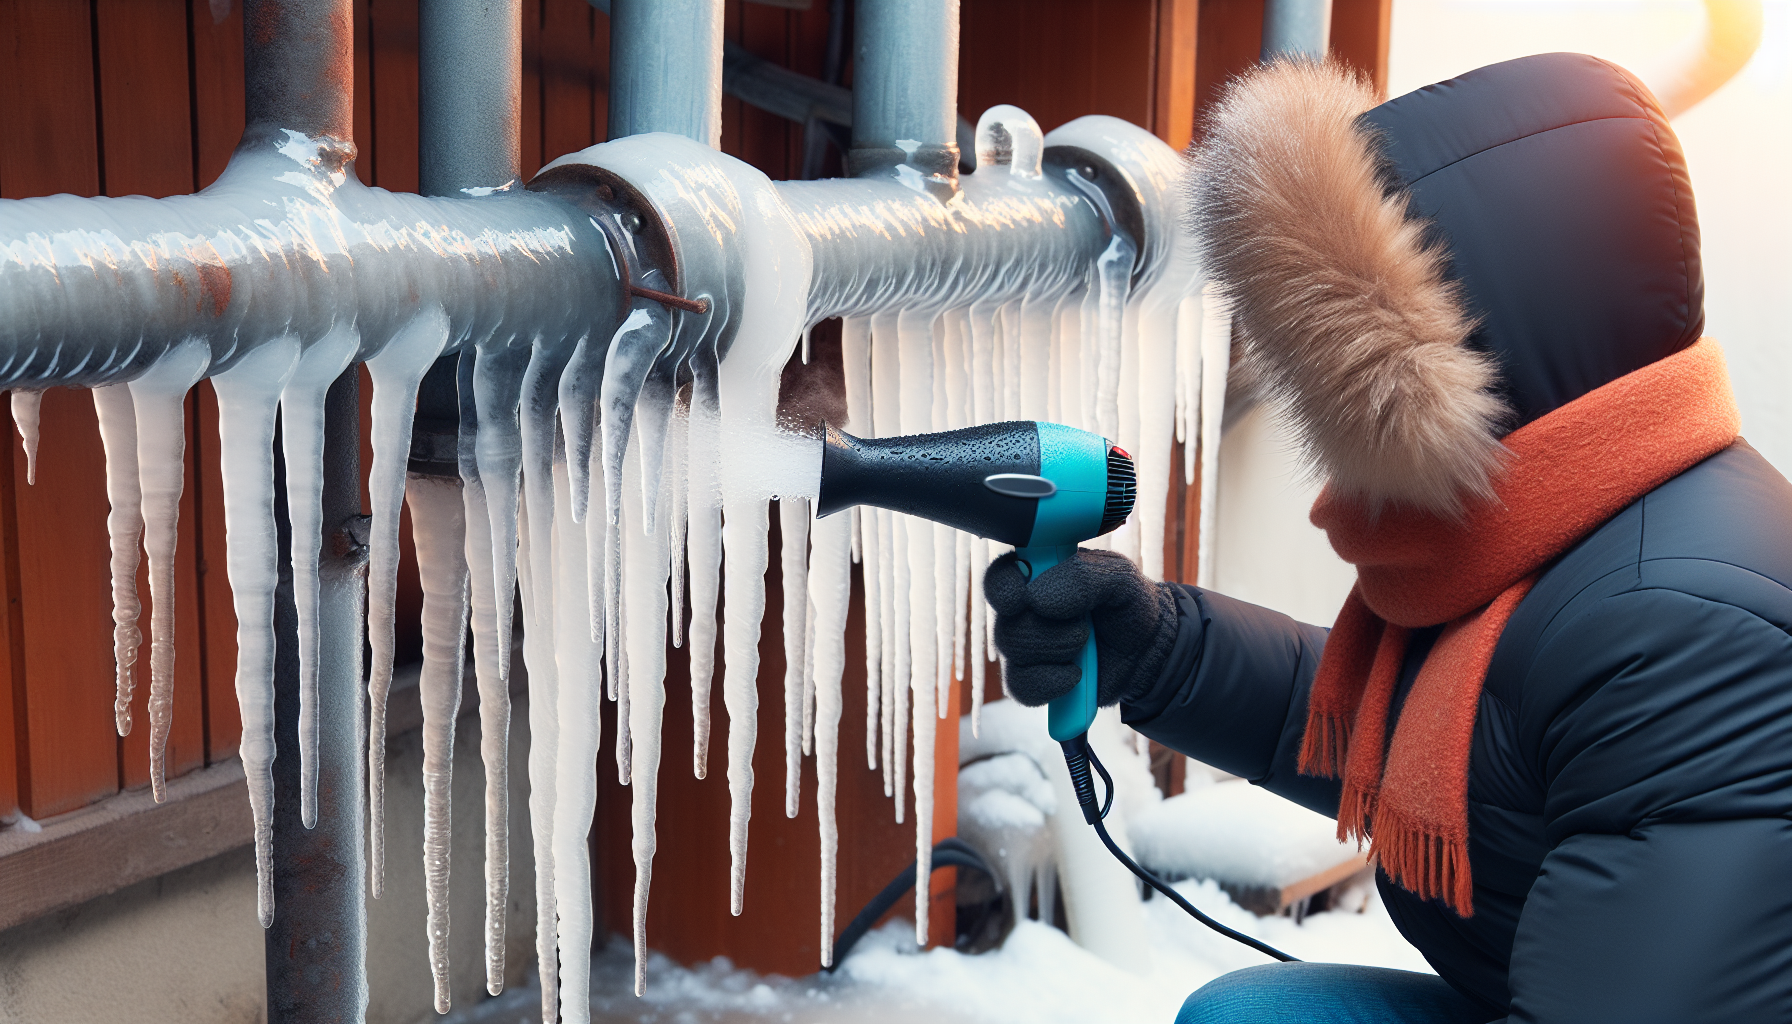
Gradual Warming Methods
A gradual increase in temperature is key to thawing a pipe successfully. This can be achieved by using methods such as placing a warmed towel around the pipe, gently heating with space heaters or electric hair dryer, and utilizing an electric heating pad wrapped around the affected area. It’s important to begin at the faucet end of the pipe and gradually move towards where it has frozen for optimal results.
Prohibited Thawing Practices
Thawing pipes is essential, but it’s equally important to know what methods to avoid. Using open flames like torches or heaters that run on kerosene or propane should be avoided because of the high risk for fire hazards. Applying too much heat too quickly must also be prevented as this can cause damage and cracks in the pipes.
Repairing Damage After a Pipe Bursts
Once the pipes have been thawed safely, it is crucial to address the consequences. Dealing with water damage caused by burst pipes can be a major task and prompt action is necessary in order to mitigate its extent.
Drying Out and Sanitizing
Properly drying and sanitizing the impacted sections is a critical component of repairing any damage. In order to avoid the growth of mold and mildew, it’s essential to remove excess moisture from the premises with dehumidifiers and air movers. Keep in mind that this process typically takes around 72+ hours, although if there is significant damage it may take even longer.
Structural Repairs
After the affected area has been dried and disinfected, it is important to assess any structural damage caused by the burst pipes. This may entail replacing insulation, drywall or flooring, and addressing potential foundational problems. Remember to seek professional assistance from a plumber or water damage remediation specialist if needed as these tasks are best handled by experts.
Preventative Measures Against Pipe Freezing
After handling the initial crisis to thaw frozen pipes and completing essential repairs, the next priority is to prevent a similar situation from happening again. It is much more economical and less taxing to take measures against frozen pipes than dealing with the aftermath of a burst pipe.
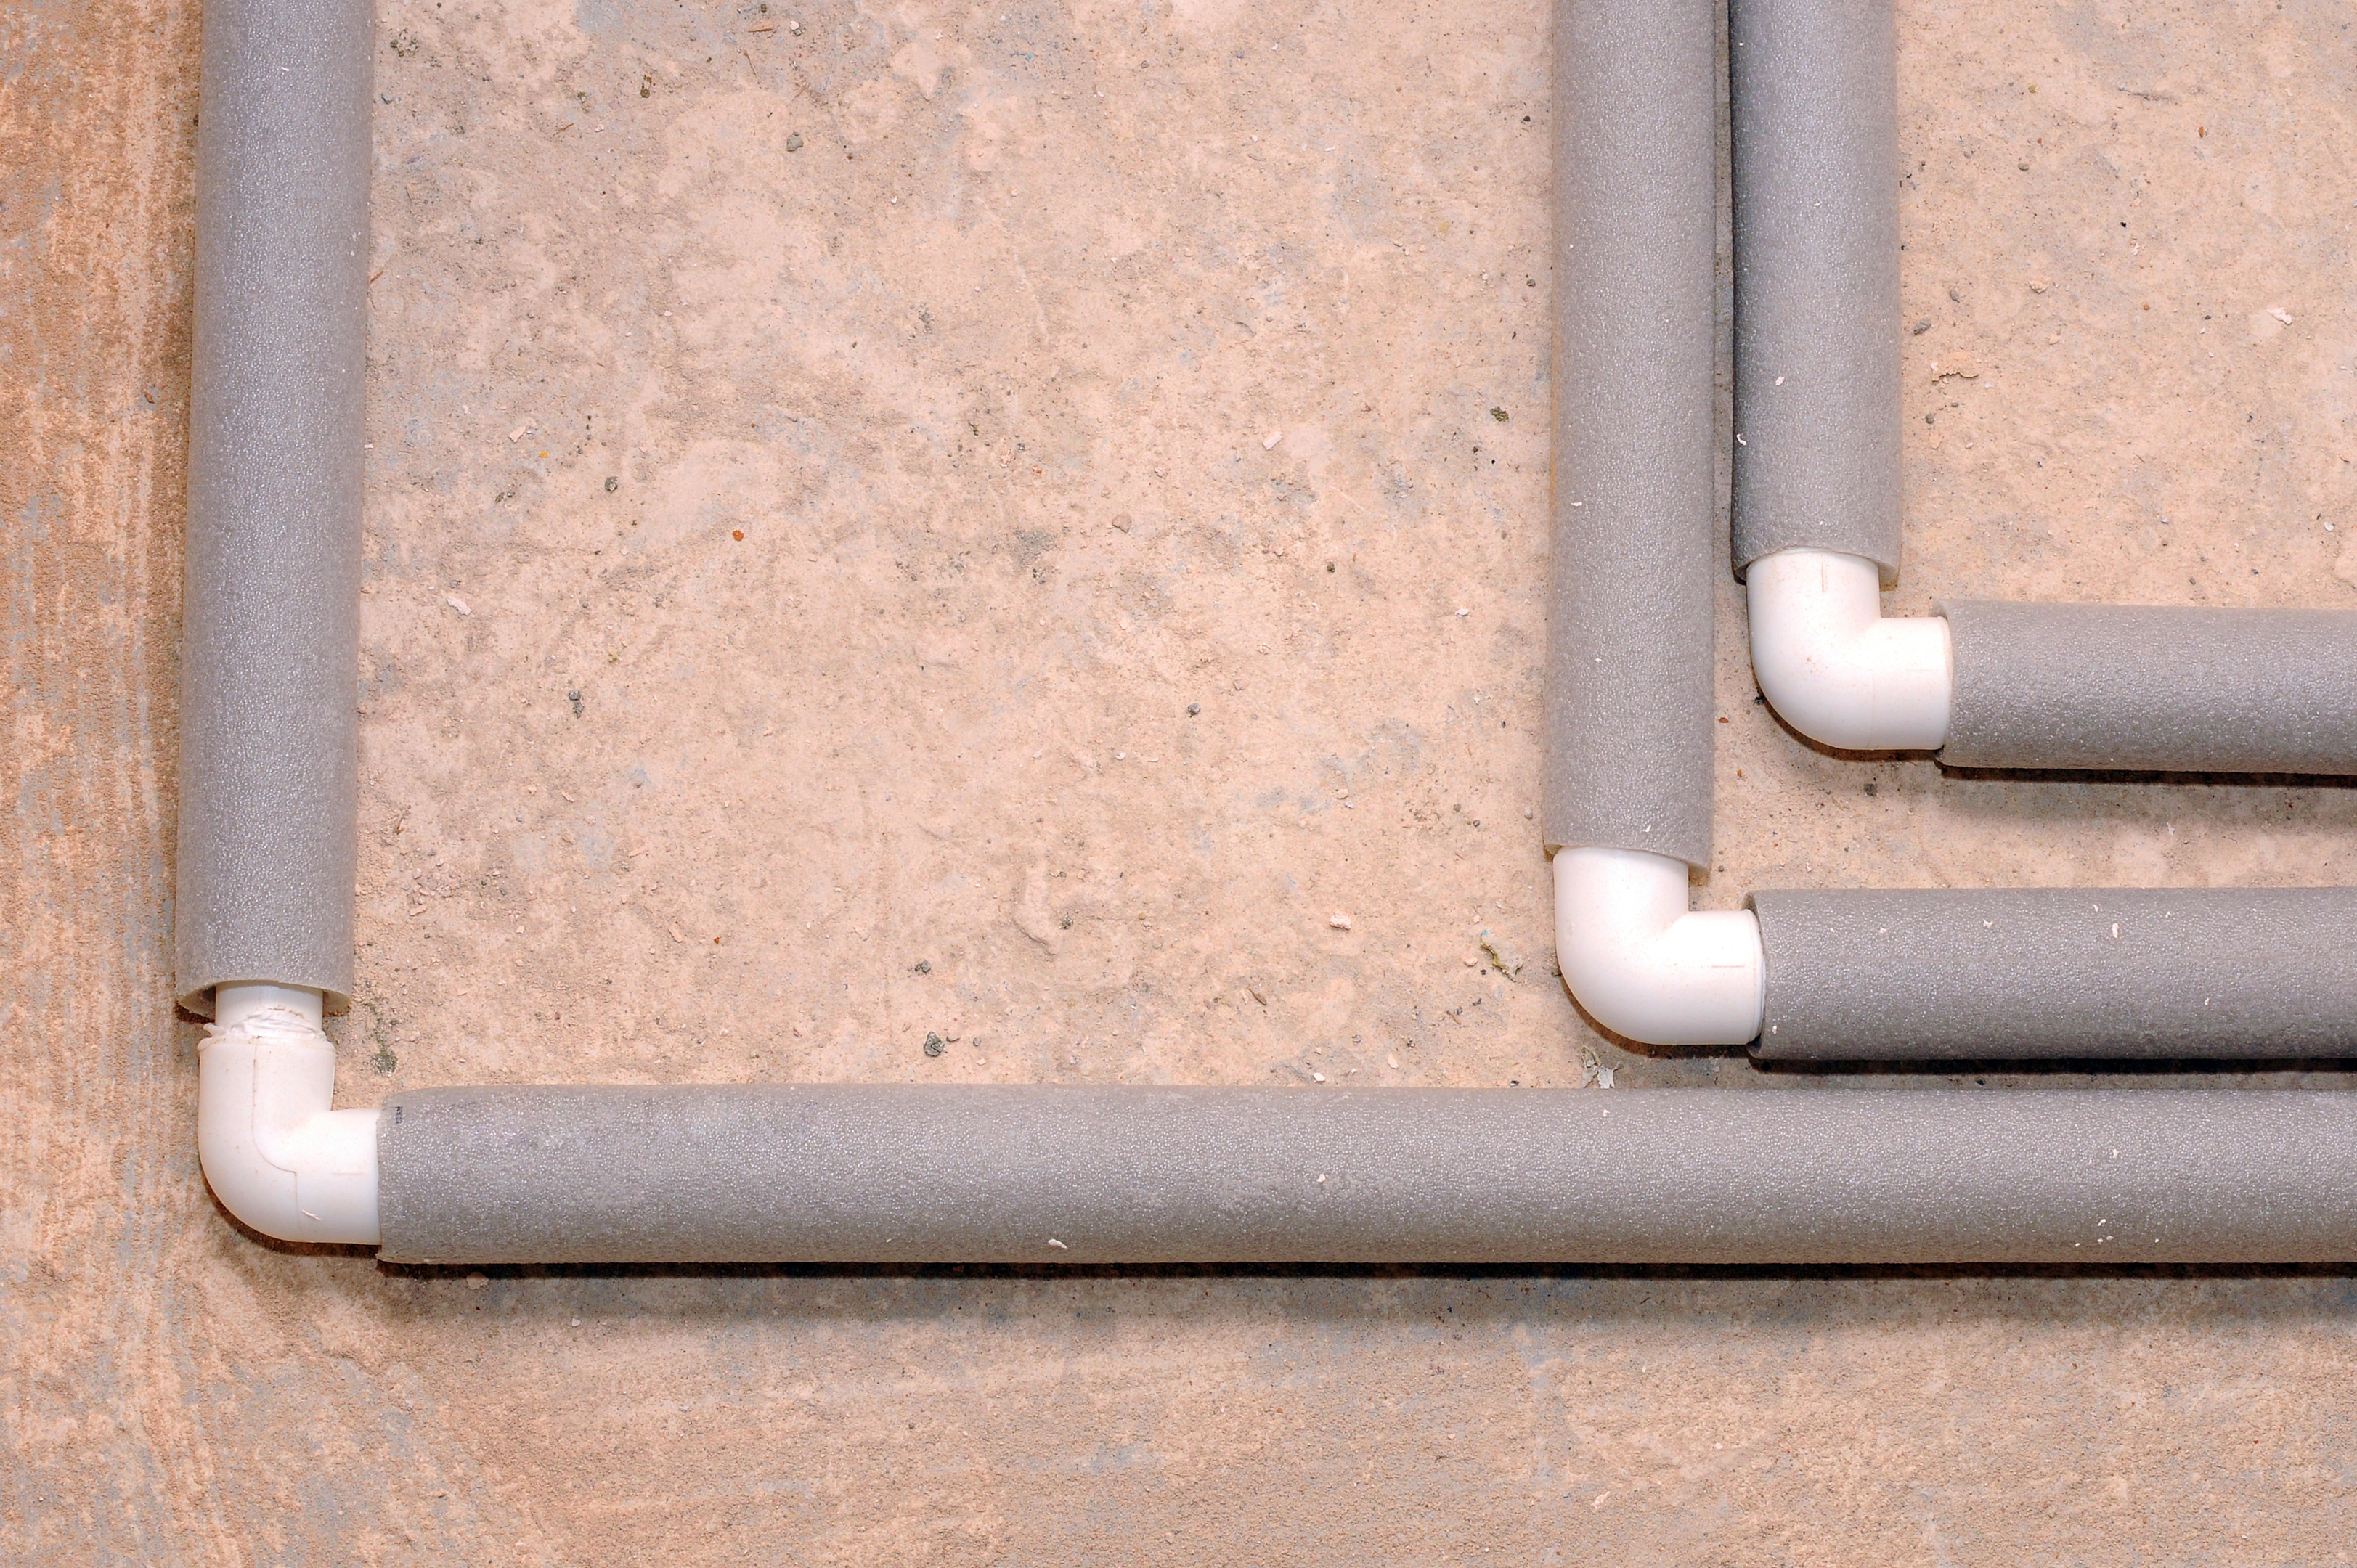
Insulating Vulnerable Pipes
During chilly temperatures, a useful step to take is insulating your exposed pipes, especially those found in unheated spaces of your house such as the basement, attic, and crawl spaces. This will create a protective layer against the cold weather and help maintain warmth within the pipes to prevent freezing.
Maintaining Warm Air Circulation
One useful approach is to ensure proper air flow and warmth in your home. Maintaining a temperature of at least 68 degrees Fahrenheit can effectively prevent pipes from freezing. Smart thermostats with advanced features for controlling air filtration and ventilation are worth considering as they help maintain warm air circulation inside the house.
Identifying Additional Frozen Pipes
Aside from addressing the initial burst pipe, it is crucial to also inspect your household for any other frozen pipes. Indications such as minimal water flow or no output at all from a faucet, unusual noises emanating from the pipes, and visible frost or ice formation are signs of potential additional frozen pipes.
In case you come across another frozen pipe, make sure to follow the steps outlined in this guide carefully to safely resolve the issue before facing more problems with freezing pipes.
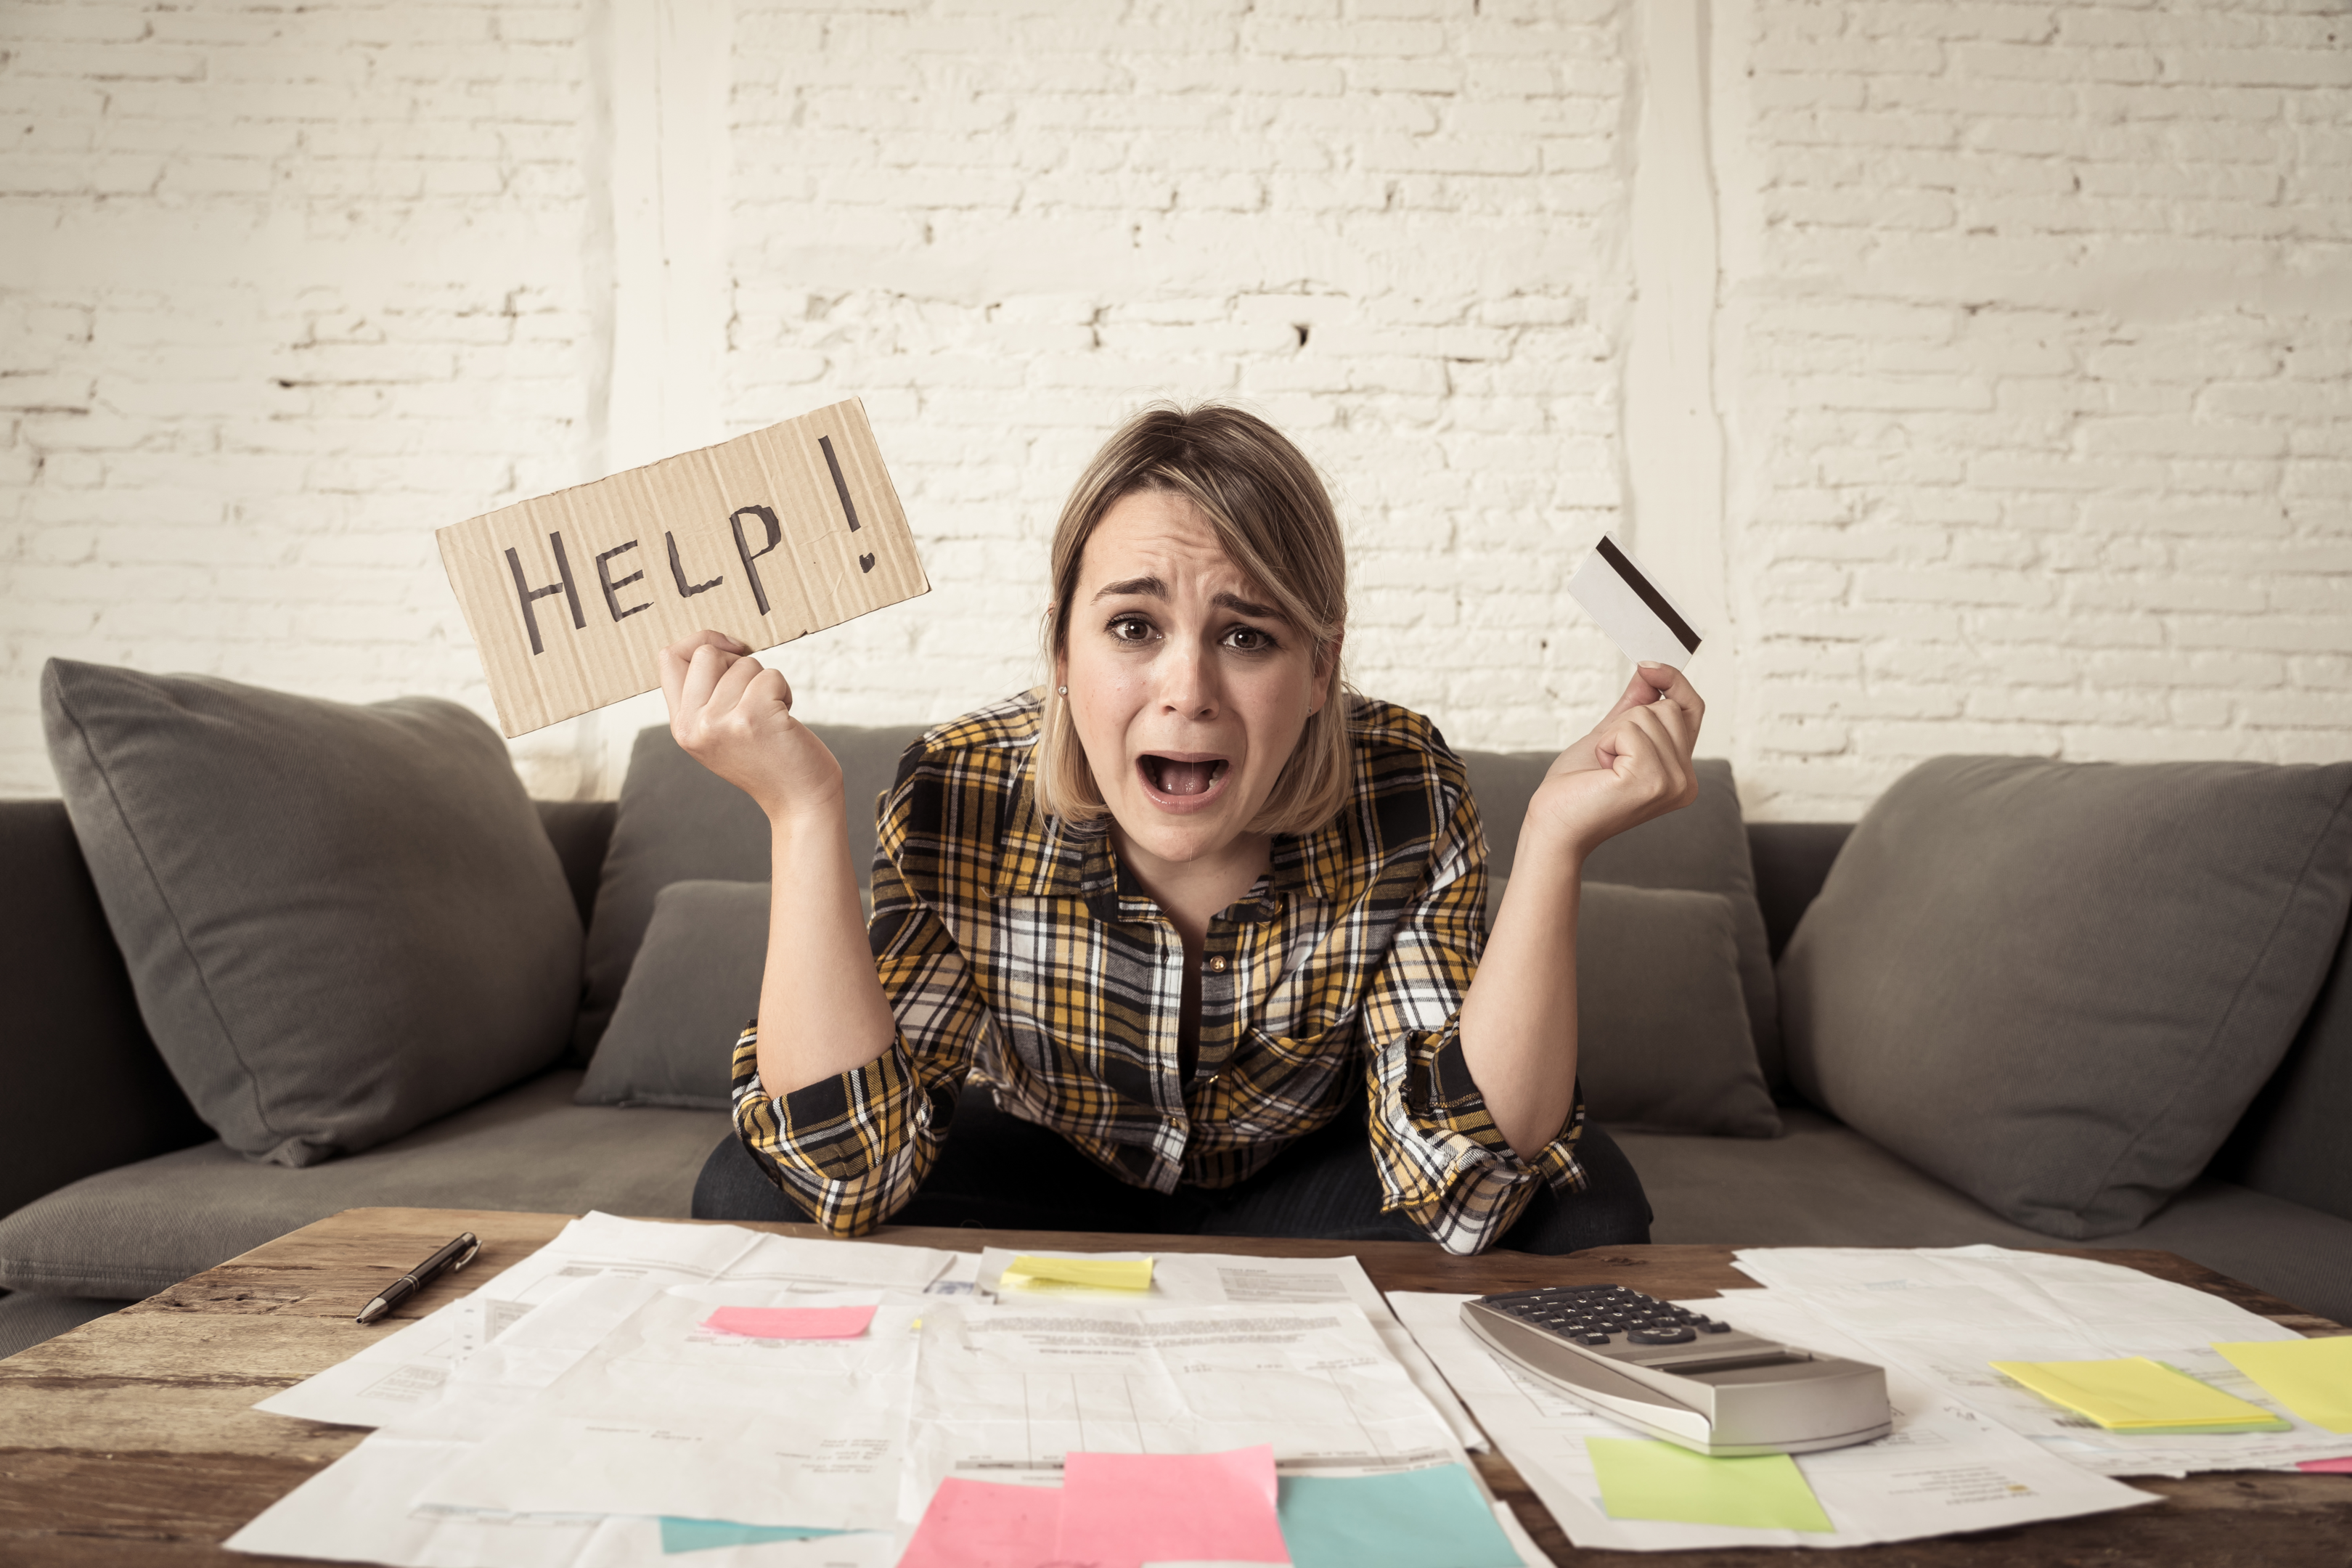
Insurance Coverage for Frozen Pipe Damage
The expense of handling frozen pipes can be significant, but having adequate insurance coverage can alleviate the financial strain. In general, homeowner’s insurance policies offer protection for water damage caused by frozen pipes. It is wise to carefully review your specific policy for any potential limitations.
When submitting a claim related to frozen pipe damage, it is important to provide thorough documentation including pictures and written explanations of the destruction incurred.
Long-Term Solutions to Prevent Pipes Freezing
After handling the urgent situation and taking preventive actions, it is worthwhile to consider potential solutions for preventing pipes from freezing in the future. This could entail:
- Improving insulation
- Wrap exposed pipes
- Utilizing heat tape on pipes
- Thermostatically controlled heat tape
- Modifying your home’s structure to provide better protection against low temperatures.
- Add insulation
Managing frozen pipes may seem overwhelming, but with proper understanding and resources, it can be manageable. This guide has provided comprehensive strategies for addressing water damage caused by frozen pipes both immediately and in the long run. So when winter arrives again, you can feel confident knowing you have prepared measures to handle any potential issues.
Frequently Asked Questions
How cold does it have to be for pipes to freeze?
If the temperature drops below 20 degrees, it is possible for pipes to freeze. In the event that this cold weather persists for more than four to six hours, there is a risk of the pipes bursting.
What do you do if your pipes freeze?
In the event of frozen pipes, it is recommended to use a hair dryer to apply heat slowly and gradually on the affected area. Start at the section that is most affected by cold temperatures. If you encounter any challenges during this process, seek assistance from a licensed plumber for guidance.
Should I run water if pipes are frozen?
It is advisable to let water flow (only a trickle) if your pipes are frozen. Allowing the water to run through the pipe can aid in melting any ice buildup and avoid potential bursting of the pipe.
How do I stop my pipes from freezing?
To prevent your pipes from freezing, you should set your home thermostats above 55 degrees during cold weather, drip cold water in the farthest faucet from your main valve, insulate pipes in unheated areas, and open cupboards and vanities to warm pipes.
Take care to do these preventive measures to avoid frozen pipes.
What should I do if I discover a frozen pipe in my home?
If you happen to come across a pipe that is frozen in your home, carefully defrost it by gradually warming it and be sure to inspect for any additional pipes that may also be frozen. This will help prevent Harm from occurring within your household due to the presence of these freezing pipes.